Hey guys, it's been a while since I've updated you on how my works going at college but now I've taken time to finally get back to telling you guys but first I'll start with the back-drop of it all. At the beginning of the new year we had to finish off the character design in Maya and the Digital Environments stuff, but as we got those done we had another task to do for Industry Exercises. Jared Taylor our tutor wanted us to do our own tutorial about Maya, but the part of Maya that we think is the most interesting. For me since I'm a very creative person and I'm always interested in the creative process, I love building the actual character that you're going to animate later on.
What I'm going to give to you guys now is the step-by-step guide on building a character model in Maya, followed by some images;
Step I: Create a polygon cube and give it a sub-division of two (to give it a subdivision of two, go to the channel box and click on where it says polygon 1 under the Inputs) then delete the inside faces.

Step II: Scale the cube and by using the insert edge loop tool (which can be found under edit mesh in the polygon menu) add another edge loop.
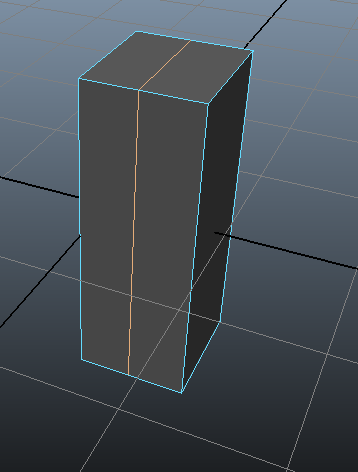

Step III: Horizontally add two more edge loops. With the new loops you'll have enough vertices to shape the torso. To view the object as a smooth object select it and press the '3' key.
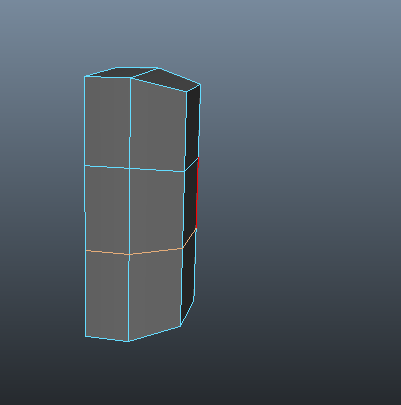

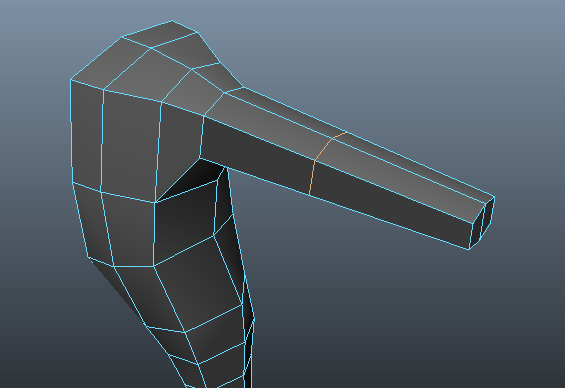
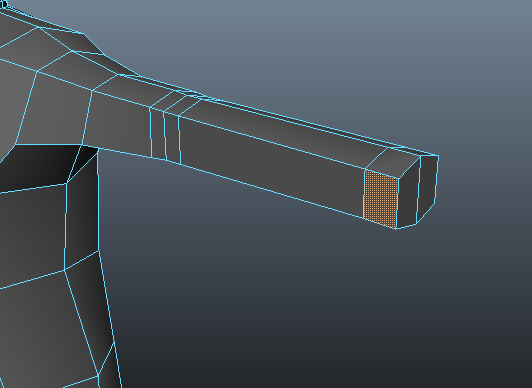
Step IV: To create the arm select the appropriate face. Extrude it once and scale it in a little bit and pull it out a little bit. Extrude again and pull the new extrusion to where the wrist will be. Create another edge loop with another edge loop tool right through to the centre of the arm and torso. With the new vertices shape the object some more.
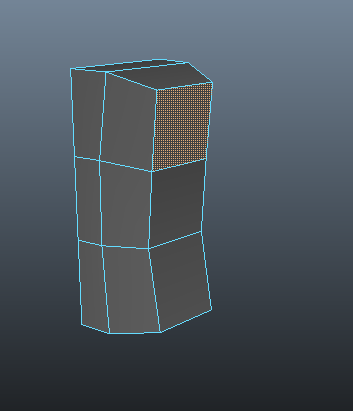

Step V: To create the leg select the bottom faces, scale the faces in then extrude the faces and pull them down to where the ankle will be. Remember to check it as a smooth object, press the '3' key. Also it's important to save every so often.
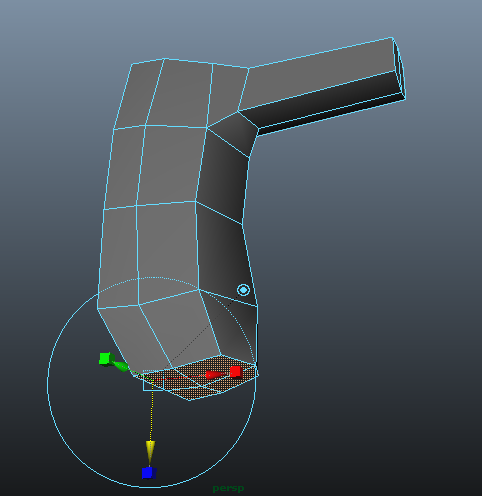

Step VI: To create ankles and elbows use the insert edge loop tool. It's always good to have about three edge loops where they will be a lot of bending and deforming around the joint.

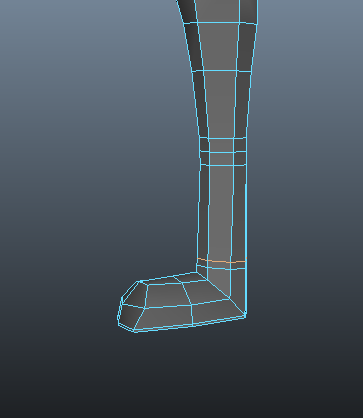
Step VII: To make the foot select the bottom faces of the leg and rotate them to an angle then extrude the faces and pull out the new extrusion to where the toe is. Then rotate the faces until looks just about correct. To make the foot have more of a defined hard edge select the base faces, extrude them and pull them out just a wee bit. Then add another edge loop through the middle of the foot and have some more vertices to create some shape.
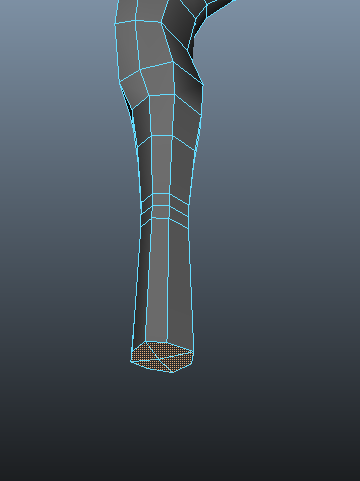

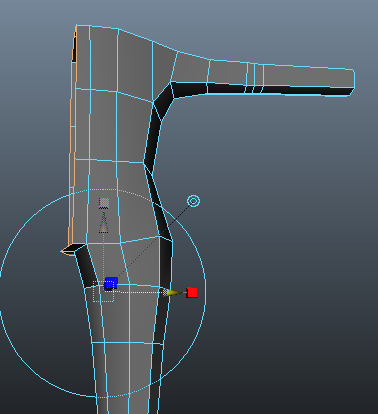
Step VIII: Add another two edge loops around the ankle and add another edge loop around the thigh to create more shape.

Step IX: Now select the edges at the centre of the object and extrude to where the spine might be.

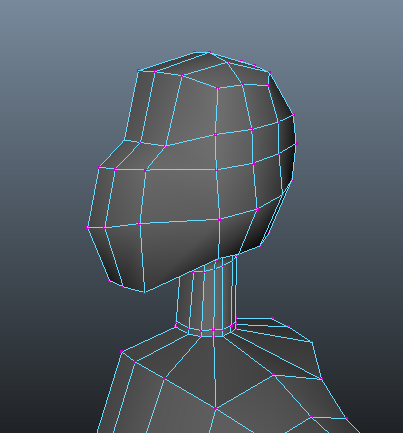
Step X: To create the neck you need to redraw some of the edges with split polygon tool which can be found on the edit mesh menu. Redraw until all the faces have four vertices. Then select the new faces and extrude up to where the base of the head might be. Remember to delete the inside faces. Also rotate the faces to an appropriate angle. Extrude then again to where the tip of the skull would be.
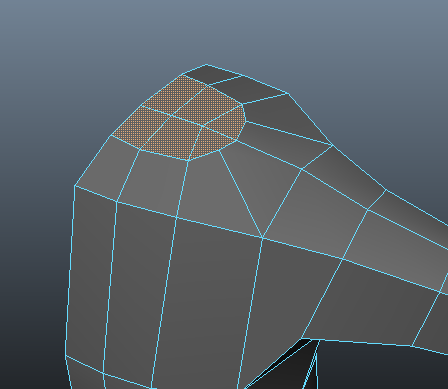

Step XI: Faces and hands can be very difficult to create so I’m just going to give you a simplified version. Add another edge loop between the base of the head and the skull with then the new vertices, pull them about until you get something that resembles the shape of the head. Remember to check to see how it will look like in smooth mode.

Step XII: For the ear, select the four faces and extrude and scale in then extrude out and then we just shape the vertices.


Step XIII: For the hand, select the faces of where the wrist is, pull them out to where the base of the thumb is. Select one face to extrude the thumb and pull it out towards the tip of the thumb. Now select the two hand faces (when you select two faces and extruding them together, make sure that the keep faces together option is ticked under the edit mesh menu). Add an edge loop in the middle of the hand and just have more vertices to create a shape.

If you want to create an advanced model you would also need to redraw the loops around the groin and hip area.
Step XV: To finish the model off, duplicate special under the edit menu and make sure you put a value of minus 1 into the first scale box (for the X axis). Then select the two sides, under the mesh menu go to combine. Finally- you want to select the vertices at the centre of the model and merge them (merge is under the edit mesh menu)- make sure you have a very low value.
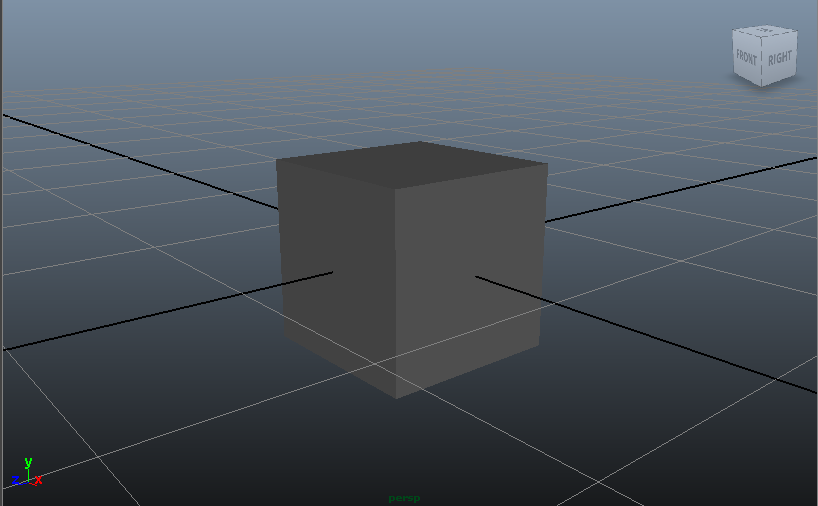
In the end you'll have a model which can look like anything you want like this one here that I've created here;

One more thing guys, all credit to helping me learn about Maya are the teachers of Ravensbourne but also an old teacher of mine who helped me put this step-by-step guide together. Her name is Nilly Brook, to learn more about her check her out at www.nillybrook.co.uk.

No comments:
Post a Comment